How do I set Motion Sensitivity on my HD cameras? (Video motion threshold)
If you have one of these cameras, follow these instructions to change its Settings.
 edited to exclude SkyBell, April 2025_589x221.png)
-
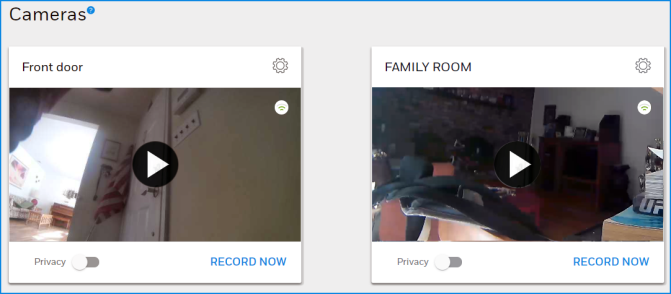
Click Cameras on the left side of the screen
- The Cameras page opens, showing your installed cameras at the top of the page and the most recent camera events listed below.
Each camera's card shows these features:
-
The
 icon; see below for the settings it opens
 -
A signal strength indicator

-
The Privacy switch: With this switch On, recordings will not be triggered by motion or sound detection, nor can video recording and stills be triggered manually.
-
Click RECORD NOW to start recording a 30-second video clip
Select the camera whose settings you want to change and click the icon
iconOn the left side of the page
Each section can be expanded or hidden by clicking  or
or  .
.
or .-
Name: Name or rename the camera, observing the text rules on the page.
-
Camera info: Everything you need to know, including the camera's IP address and signal strength of the camera's connection to your Wi-Fi router.
-
Refresh: Click here for the latest reading on the camera's Wi-Fi signal strength.
-
Delete Camera button: There are various reasons to delete a camera from your system. (You may need to delete one before resetting or reinstalling it.) The Remote Service will ask for confirmation before executing this action. Make sure you really want to do this before clicking that button.
On the right side of the page
Event Detection Areas
Each camera's view can be divided into regions; each region has a separate adjustment for motion sensitivity. Movement detected in any area can act as a trigger for recording a clip and/or notifications.
Note that some cameras offer 2 detection areas and some offer 4. Each area is identified on the camera's preview image with a diferent color (red, orange, green or blue). Their individual controls are designated by matching color icons.
Each Detection Area offers these controls; as above, you can expand or hide them by clicking  or
or  .
.
or .Enable or disable each detection area with its .png) switch.
switch.
switch.- Choose Low, Medium or High sensitivity
- Low detects only significant movement
- Medium detects general changes in the area monitored
- High will detect most movement in the camera's view. The High setting is more likely to trigger notifications and clip recordings
We strongly recommend experimenting with the settings to get the desired results.
Other Features
-
Pre-capture Length: (May not be available in all systems.) A certain portion of the camera's feed is always held in memory, whether a recording is in progress or not. Therefore, video clips can be set to include a user-settable amount of time prior to the moment when a recording is triggered by movement (or sound) or started manually. Please note that this "pre-capture" period counts toward the clip's maximum length of 30 seconds.
-
Microphone: Click the switch to enable or disable your camera's microphone. Being able to turn the mic on and off can be a useful option if you have privacy concerns or if you're getting too many notifications.
-
LED: If you want your camera to be as unobtrusive as possible, click this switch to keep the camera's green LED turned off at all times.
-
Sound Detection: Choose Low, Medium or High sensivity to nearby sounds. Sound detection can play an important role in triggering automatic video recordings and/or notifications. Each option displays examples of the sounds detected at that setting.
-
Night Vision: You can manually control the red LEDs that help the camera see in low-light conditions or leave it up to the camera with the Automatic setting.
-
Video Quality: Choose High or Low quality or use the Automatic setting.
As ever, don't forget to SAVE your settings.
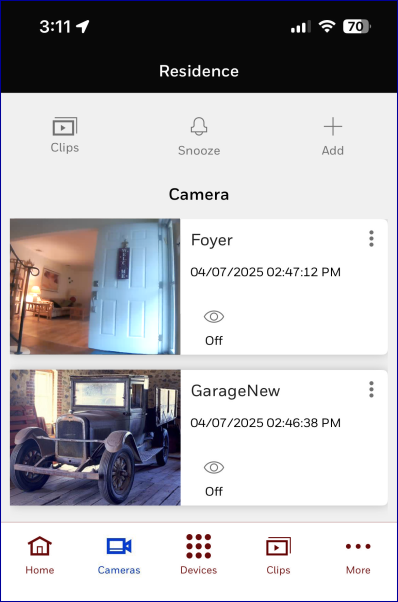
On the apps
All of the settings and information described above are available, but arranged somewhat differently.
-
If your Remote Service account has more than one Location: Before you do anything else, use the dropdown at the top of the Home screen to select the premises where the camera is located.
-
Touch Cameras at the bottom of the screen (iOS) or at the top of the screen (Android).
- Open a full-screen look at a camera's live feed by tapping its thumbnail image
-
Touch
 to access the same settings as those discussed above.
Tap SAVE or DONE to save your settings.