How do I make settings on my new VX1 Video Doorbell?
Click here for A video guide to the VX1 Video Doorbell
On the iOS app
-
If your Remote Service account has more than one Location, use the dropdown at the top of the Home screen to select the premises where the doorbell is located.
-
Touch Cameras at the bottom of the screen (or if it's not there, use the More button ), then touch the Settings
 button above the doorbell's preview image .
- Touch Settings
- Touch General > at the bottom of the screen to access information like signal strength and firmware updates.
-
Touch Detection and then Detection Areas to enable and set up Event Detection areas.
Scroll down for a complete explanation ofEvent Detection Areas.Touch Sound Detection to adjust the threshold at which nearby sounds trigger a clip recording. -
Tap SAVE or DONE to save your settings.
On the Android app
-
If your Remote Service account has more than one Location, use the dropdown at the top of the Home screen to select the premises where the doorbell is located.
-
Touch the CAMERAS text button near the top of the screen; remember that you may have to swipe the menu left or right for the CAMERAS text button.
-
Then touch the button to the right of the doorbell's preview image .
- Touch Settings
-
Touch General > at the bottom of the screen to access information like signal strength and firmware updates.
-
Touch Detection and then Detection Areas to enable and set up Event Detection areas.
- Touch Sound Detection to adjust the threshold at which nearby sounds trigger a clip recording.
Scroll down for a complete explanation ofEvent Detection Areas.Touch Sound Detection to adjust the threshold at which nearby sounds trigger a clip recording.
Tap SAVE or DONE to save your settings.
On the website
-
Click CAMERAS on the left side of the screen
- Your account's installed doorbells and cameras are displayed with their most recent associated events listed below.
Each device's card shows these features:
-
The
icon; see below for the settings it opens
-
A signal strength indicator

Open Settings to check the device's signal strength and see other information.
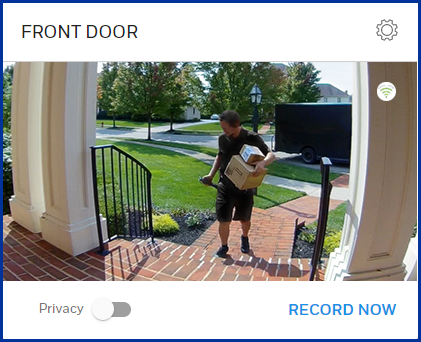
- Some devices display a RECORD NOW text button. Click the text button to start recording a 30-second video clip.
On the left side of the page
-
Name: Name or rename the device, observing the text rules on the page.
-
Doorbell Information: Includes the camera's IP address and signal strength of the camera's connection to your Wi-Fi router.
-
Refresh: Click here for the latest reading on the camera's Wi-Fi signal strength.
- The Delete button: There are various reasons to delete the device from your system. (You may need to delete one before resetting or reinstalling it.) See the FAQ How do I delete my VX1 Video Doorbell? (And why would I want to do that?) for more information.
On the right side of the page
Event Detection Areas
Each camera's view can be divided into regions; each region has a separate adjustment for motion sensitivity. Movement detected in any area can act as a trigger for recording a clip and/or notifications.
Note that some cameras offer 2 detection areas and some offer 4 detection areas. Each area is identified on the camera's preview image with a different color (red, orange, green or blue). Their individual controls are designated by matching color icons.
Each Detection Area offers these controls.
-
Enable or disable each detection area
-
Choose Low, Medium or High sensitivity
Other Features
-
Pre-capture Length: A certain amount of the camera's feed is always held in memory, whether a recording is in progress or not. Therefore, video clips can be set to include a user-settable amount of time prior to the moment when a recording is triggered by movement (or sound) or started manually. Please note that this "pre-capture" period counts toward the clip's maximum length of 30 seconds.
-
Microphone: Click the switch to enable or disable your camera's microphone. Being able to turn the mic on and off can be a useful option if you have privacy concerns or if you're getting too many notifications.
-
LED: If you want to your camera to be as unobtrusive as possible, click this switch to keep the camera's green LED turned off at all times.
-
Sound Detection: Choose Low, Medium or High sensitivity to nearby sounds. Sound detection can play an important role in triggering automatic video recordings and/or notifications. Each option displays examples of the sounds detected at that setting.
-
Night Vision: You can manually control the red LEDs that help the camera see in low-light conditions or leave it up to the camera with the Automatic setting.
-
Video Quality: Choose High or Low quality or use the Automatic setting.
As ever, don't forget to SAVE your settings.